pt-course-18-19
Week 2: Registering & Functionalities
Table of Contents
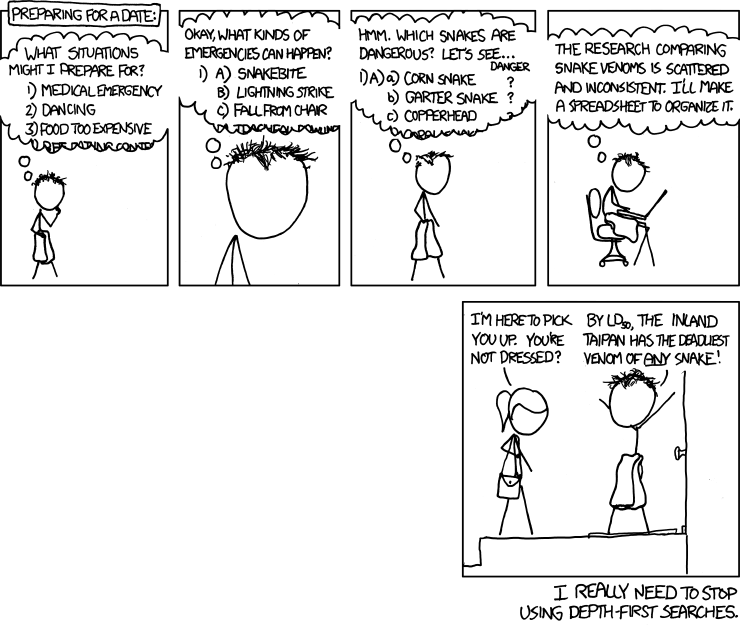
Comic
DFS by @xkcd.
Slides
Assignments
Run the Command Line
In this assignment you’ll learn the basics of the command line.
Synopsis
- Practice
- Time: 0:30h
- Goals: subgoal 1
- Due: before lab 3
Step A
Create a directory on your computer, run. In it, create a file tutorial.sh
and copy-paste the code from the Gist into it:
⚠️ If you are on Windows, make sure the select LF line endings (Unix) instead of CRLF (Windows) while saving the file. In Atom, you can click on CRLF in the status bar and switch to LF. In SublimeText, go to the View menu, and click Line Endings.
In your terminal, go to the run directory and enter it (hint: use the
cd command to “change directories”).
If you now run ls (to print out files) in the directory, you should see the
tutorial:
$ ls
# tutorial.sh
Now, run the tutorial with bash tutorial.sh:
$ bash tutorial.sh
# Hi! 👋
# Follow this tutorial by running `bash tutorial.sh`.  Stuck?  Use `man` (such
# as `man ls`) in another tab for help!
#
# Results (0/14)
# …
This tutorial is interactive. Answer any questions it asks you, until it sends you back here.
Step B
Sweet! Welcome back! If you completed the tutorial, you were given a code. Now we’re going to hand in that code to mark your assignment as complete. Create an issue on our GitHub issue tracker. In it, include the code you were given.
Tips
- Terminal Cheat Sheet for Mac (cheat sheet) — List of my most used commands and shortcuts in the terminal for Mac
- Stuck? See the Bugs section of the course readme to find a list of troubleshooting tips
Extra resources
Homework
II. Branding Research
- Registering
- Functionalities
- Job Stories
III. Static site
- Create a sitemap of all the relevant pages of your feature. You can use google drawings or omnigraffle to create an overview
- Sketch some wireframes (or wireflows) of the interface. These can be rough sketches or more hi-fi. Find a fidelity that suits you.
- Turn your wireflow into static HTML pages. Do a HTML breakdown of your wireframe to see which semantic HTML elements you need. Ten create the HTML page for your feature.
- Add some presentational CSS. You’ve already done some branding research so you’re already able to set-up some basic styles. Think about colors, fonts etc.
Methods
Hand in
-
Pages:
Create a page for this week or section of your research on your GitHub Wiki. -
Push your changes:
Hand in your research in your repository on GitHub under your username.
Profile (optional)
Optional: This is a very cool assignment but it can be pretty hard /vague and isn’t necessary to get further in the course. Only do this if you feel comfortable and want to do some advanced CLI things.
Synopsis
- Homework
- Time: 3:45h
- Goals: subgoal 1, subgoal 2 subgoal 3 and subgoal 4
- Due: before lab 3
Tips
- The Perfect Web Development Setup for OS X (article)
- Introduction to Useful Bash Aliases and Functions (article)
- dotfiles (article) — Unofficial guide to dotfiles on GitHub
- Awesome dotfiles (article) — Curated list of dotfiles resources
- Stuck? See the Bugs section of the course readme to find a list of troubleshooting tips
Description
Warning: Don’t blindly use someones code. Copy-paste code only if you know what it does. Dotfiles are often very personal: they are often not what you want but they can serve as inspiration.
In this course, you’ll find yourself staring at that black screen with green letters a lot. You’ll type the same commands over and over again. As you’ll spend so much time there, it makes sense to make the command line more useful, and prettier.
In this assignment you’ll customise your command line by changing a config file.
The file in question, called your profile, is often named .bash_profile,
.profile, or .bashrc, depending on your operating system.
To find the file you need to edit, go to your root directory (cd ~) and print
out hidden files there (ls -a).
If one of the previously mentioned files exists, you’re supposed to edit that.
If none of the them do, you can create a .bash_profile in your home directory
and use that.
If multiple files exist, open each and inspect them to find out which one you
should edit.
For this assignment:
- Add aliases (for example, I have
alias ..="cd .."set up) - Modify your prompt (for example, I have
PS1="🚀 \$(basename \$(pwd))"set up) - Add a welcome message, such as the weather with
curl wttr.in/Amsterdam?0q(seecurl wttr.in/:helpfor more info) or cowsay - And add other configuration you see fit
…in your profile.
See the aforementioned extra resources for tips to get started.
You’re expected to review a lot of existing examples, and do a lot of searching
online.
You can change other files, such as .gitconfig, .curlrc or .vimrc, if you
feel like it.
Make sure to document anything you add with comments (# starts a line comment
in Bash).
Hand in your project by creating a new repository on GitHub:
username/dotfiles (in my case dandevri/dotfiles).
In your repository, include the changed and added files.
Also include a readme.md, documenting how to install your config files, what
they do, and who you are.
For example, something like this one by @holman.
